Drupal Integration
Step 1. Authorization
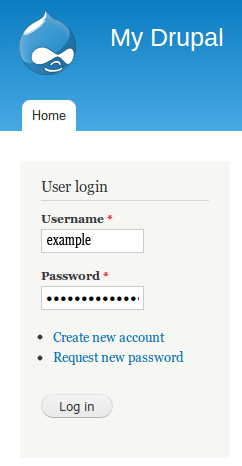
Sign in Drupal administration panel.
Step 2. Set module
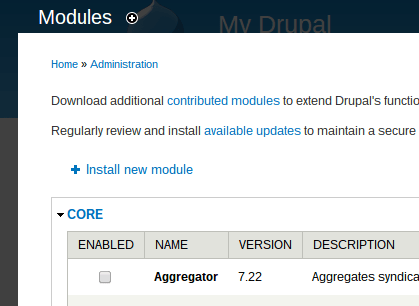
The administrative panel at the top of the page, select Modules.

Step 3. Configuring a module
Download the app to configure the CDN in .zip format via this link.
Step 4. Configuring a module
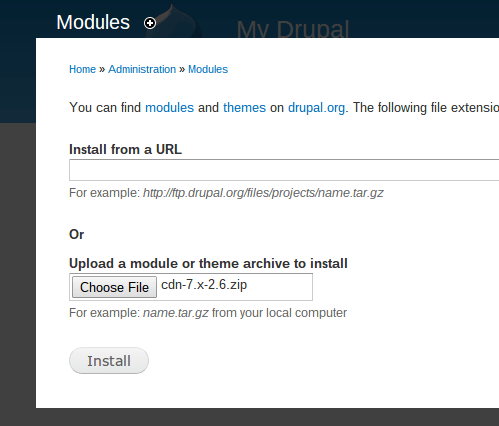
After downloading the app, choose “Install new module”.
Step 5. Configuring a module
Click Choose File and locate the downloaded on his computer module.
Step 6. Configuring a module
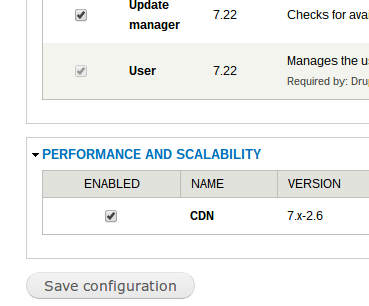
After the CDN module has been successfully installed, return to the list of modules and scroll down to the CDN. Select “Enable” (Enable) and “Save Configuration” (Save the configuration).
Step 7. Configuring a module
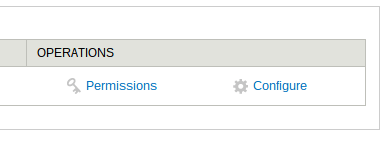
Select “Configure” (Set).
Step 8. CDN Configuring
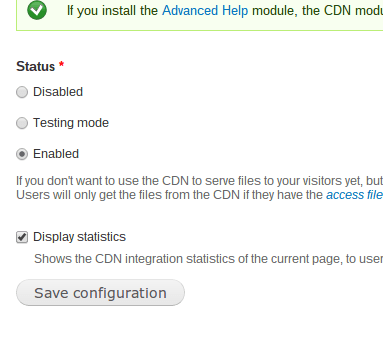
Change the status of the CDN module to “Enabled” (enabled) and save the settings by clicking the “Save configuration”.
Step 9. CDN Configuring
On the right side of the setup screen, select the “Details” tab (Details).

Step 10. CDN Configuring
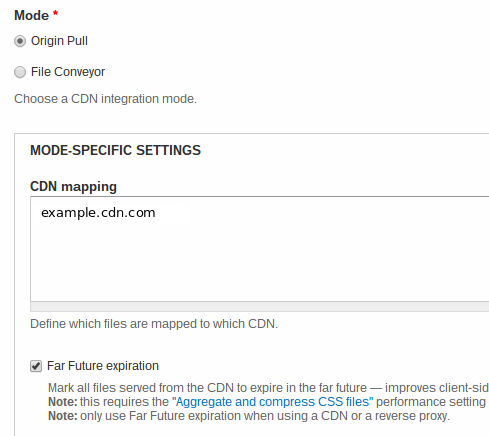
When setting mode, select “Origin Pull” and enter your domain to Beeline network (this record can be found in the letter to the settings that you sent our staff).
Step 11. Save settings
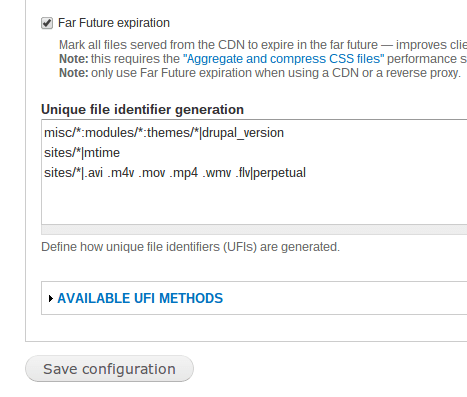
Scroll down and turn on the “Far Future expiration”, then save the settings.
Step 12 (Optional).
On the right side of the CDN module configuration screen, select the tab “Other” (Optional).

Step 13 (Optional).
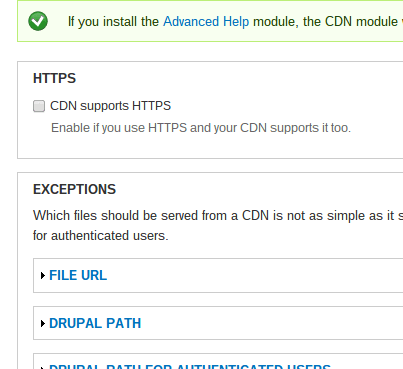
Enable HTTPS for SSL support (optional). But first you need to contact our technical support service to you, we have included this feature on their side.
