Storage $
Description
The "Storage" service allows you to store any files and work with mp4 video files.
To get started, select the "Storage" section in the side menu. When using it for the first time, you need to initialize the service by clicking the "Activate" button.

"My Files" Page
The page consists of five main parts:
- top menu
- list of files and folders
- statistics widget showing used space and conversion minutes for the current month
- S3 keys
- CDN domain

Top Menu
The following functions are available in the top menu:
- uploading files from device
- creating a new folder
- refreshing the file list
- searching within the current folder
File List
Files are displayed in a table showing the file name, available qualities, last modified time, and size. The list header shows the current path with the ability to navigate to parent folders. Each file and folder has a context menu with the following actions:
- Download (files only)
- Copy file link (files only)
- Rename
- Move
- Remove

S3 keys
This section displays the parameters required to connect to the storage’s S3 interface:
- Endpoint - the address of the S3 server you will connect to
- Access key - the public identifier used when connecting to S3
- Secret key - the private key used together with the Access key to securely access the storage
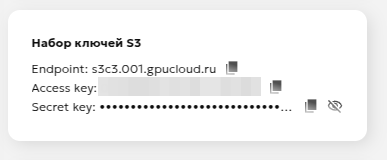
More details about S3 and working with it can be found here.
CDN domain
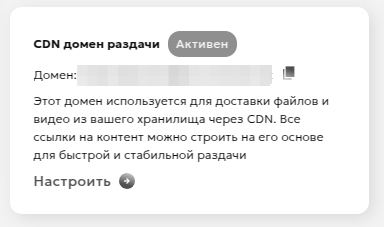
This section provides:
- The CDN domain that can be used to distribute Storage files via CDN
- The status of the CDN domain
By clicking "Configure", you will be taken to the CDN domain settings page.
"File View" Page
Clicking on a file in the list either initiates a download or (for mp4) redirects to the viewing page.
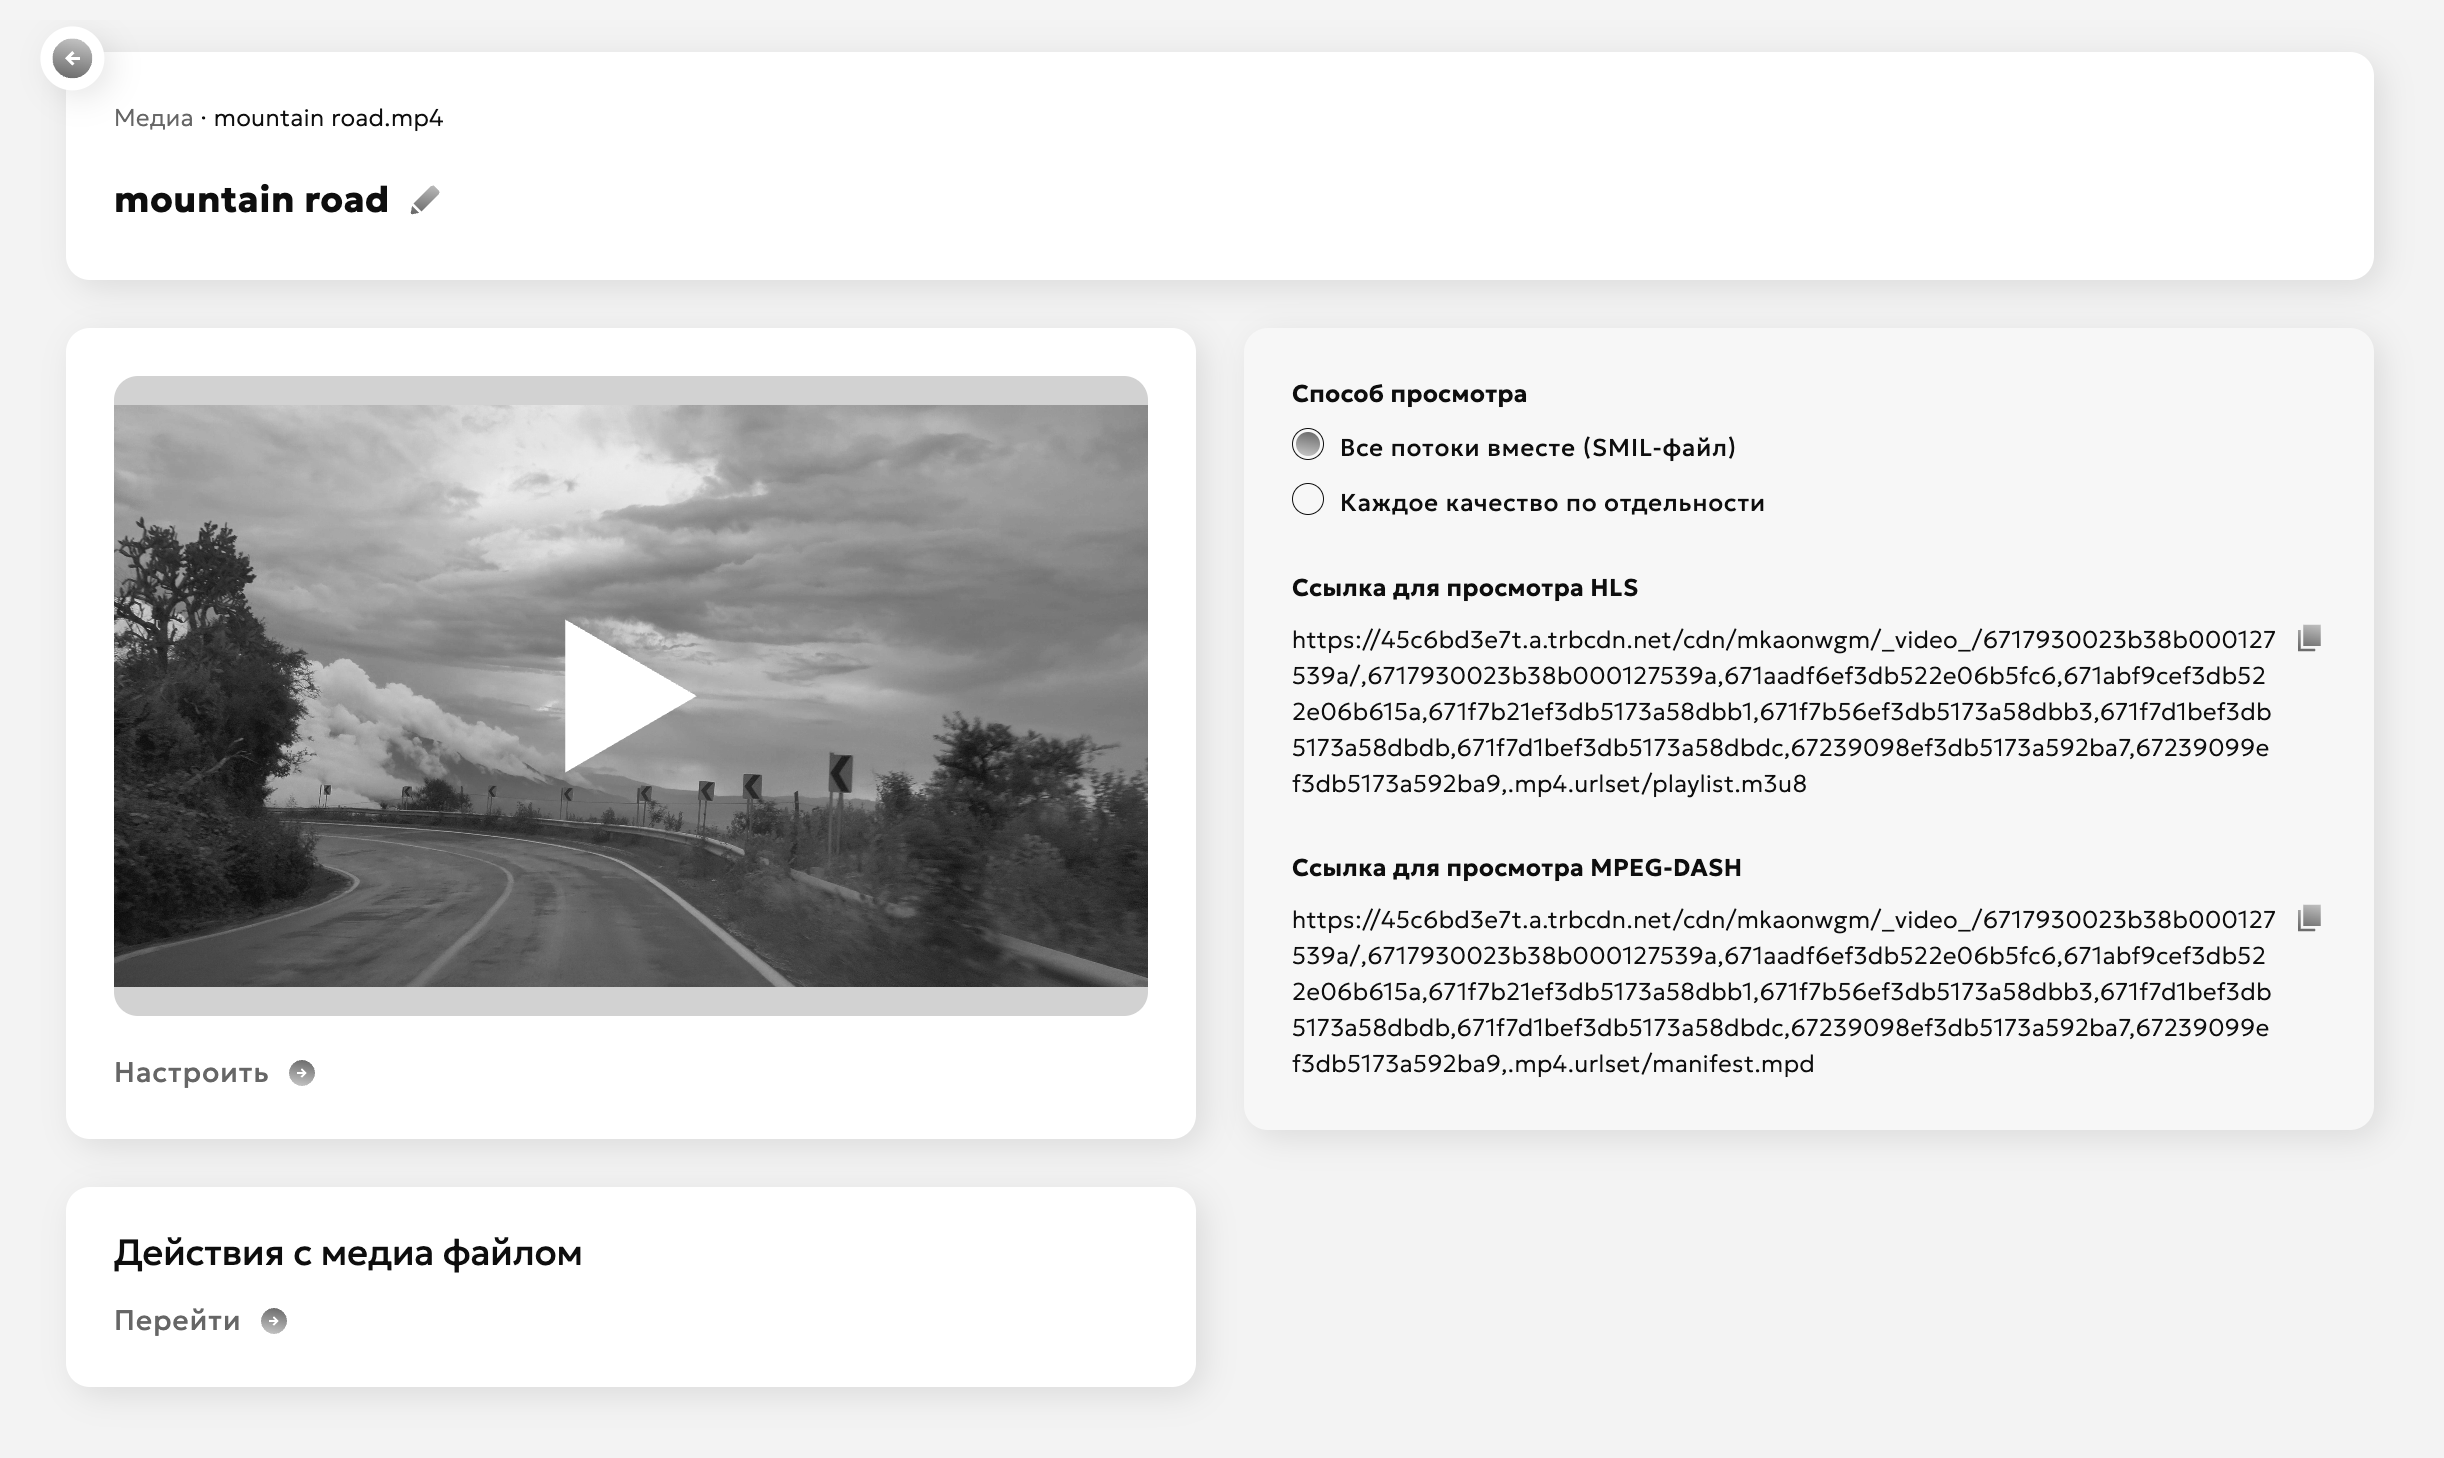
The video viewing page offers:
- Videoplayer
- Mediafile actions
- Links for viewing via streaming protocols (HLS, MPEG-DASH)
- Mediafile qualities
Important
We do not support Fragmented MP4 container for viewing using streaming protocols.
You can check the container using the command:
MP4Box -info test.mp4
Video Viewing Method Widget
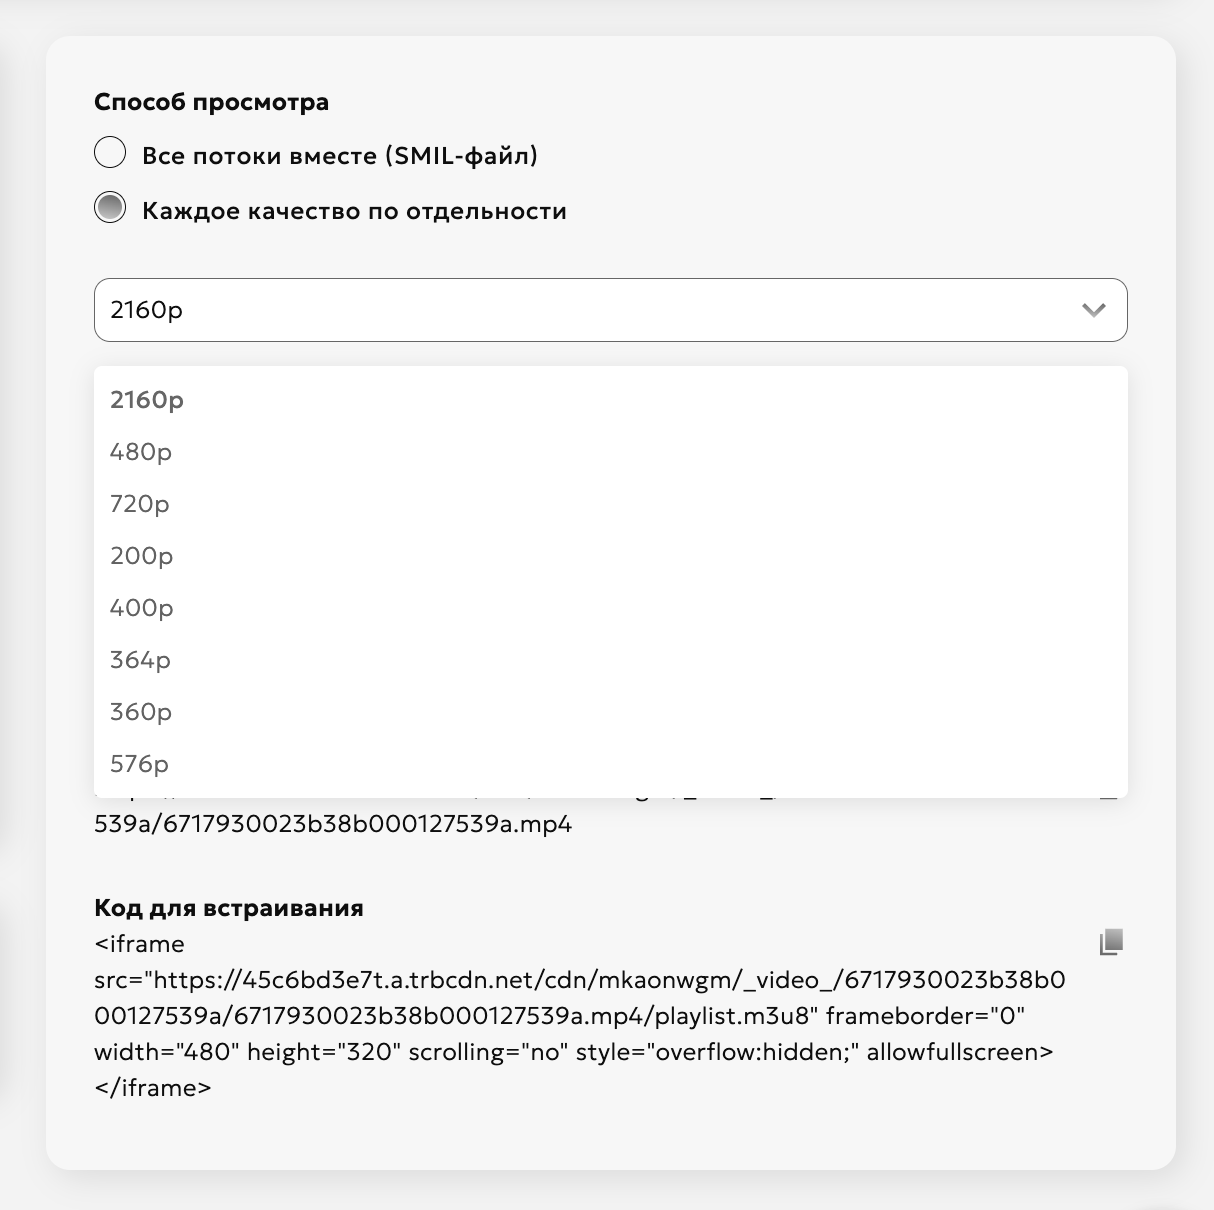
Two viewing modes are available:
- "Union streams" - with quality switcher in the player
- "Each quality separately" - viewing selected quality without switching capability
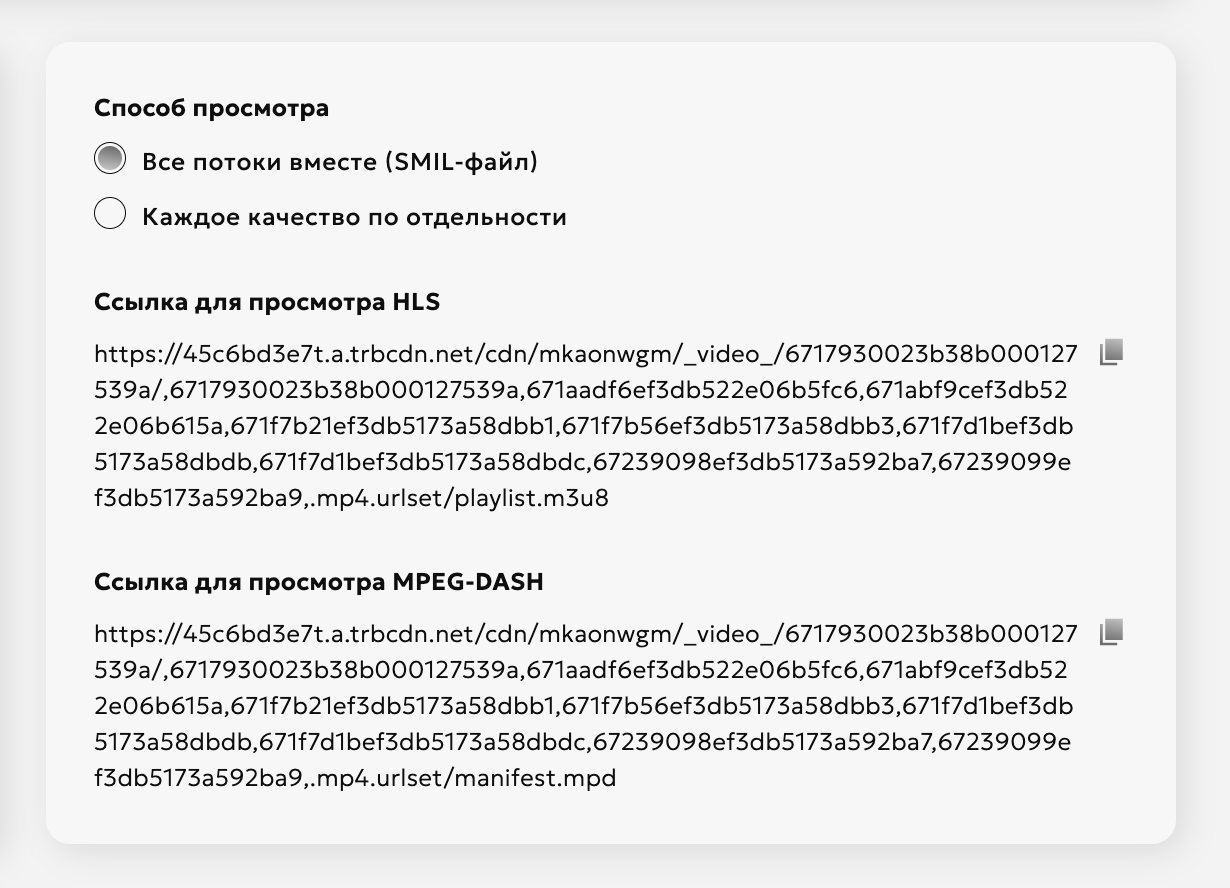
When selecting individual qualities, a menu appears for choosing specific quality for viewing.
Please note
If the video has only one quality, viewing mode switching is unavailable.
Transcoded qualities
This widget displays the available video qualities.
Each quality can be downloaded or deleted.
To generate a new quality, use the "Mediafile actions" → "Transcoding" page.

"Player configuration" Page
On the player configuration page, you can:
- Select a player template from the available options
- Override the parameters of the selected player (title, poster, subtitles, markers, background color)
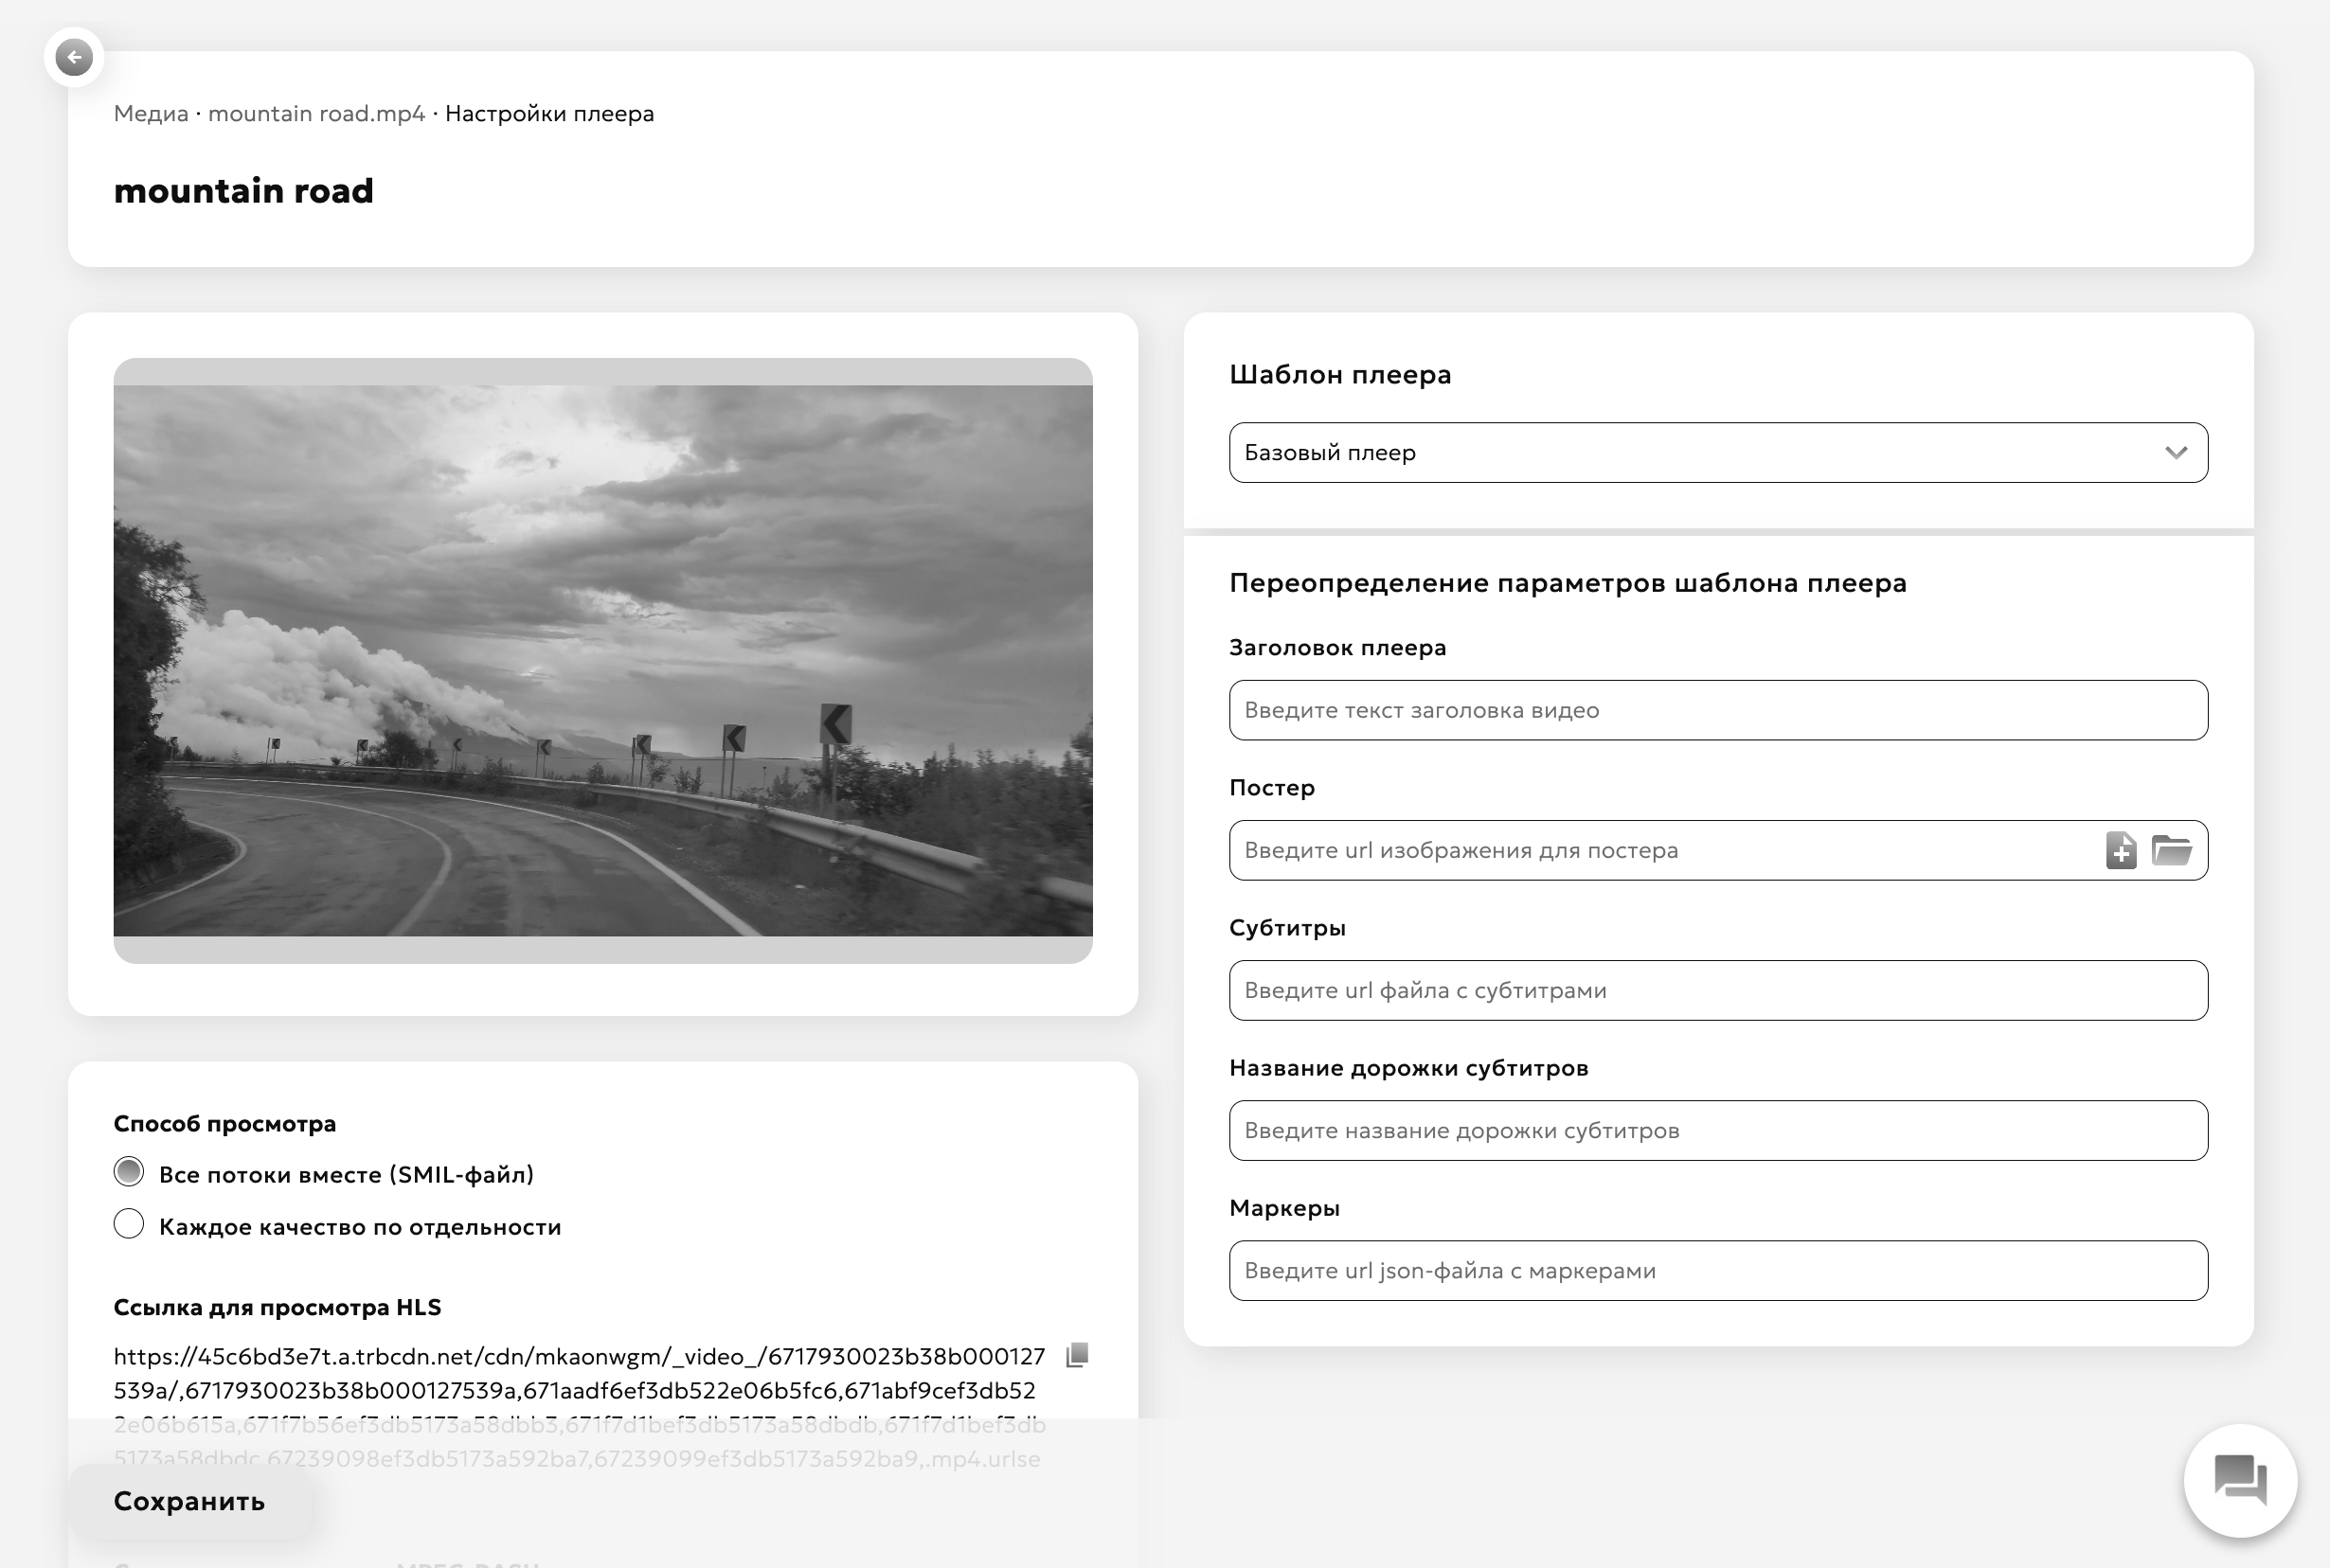
After making changes, the configuration will be saved and applied on the “File Preview” and “Player configuration” pages for the current video file.
"Mediafile actions" Page
Transcoding
The "Transcoding" section shows the qualities available for converting the current video.
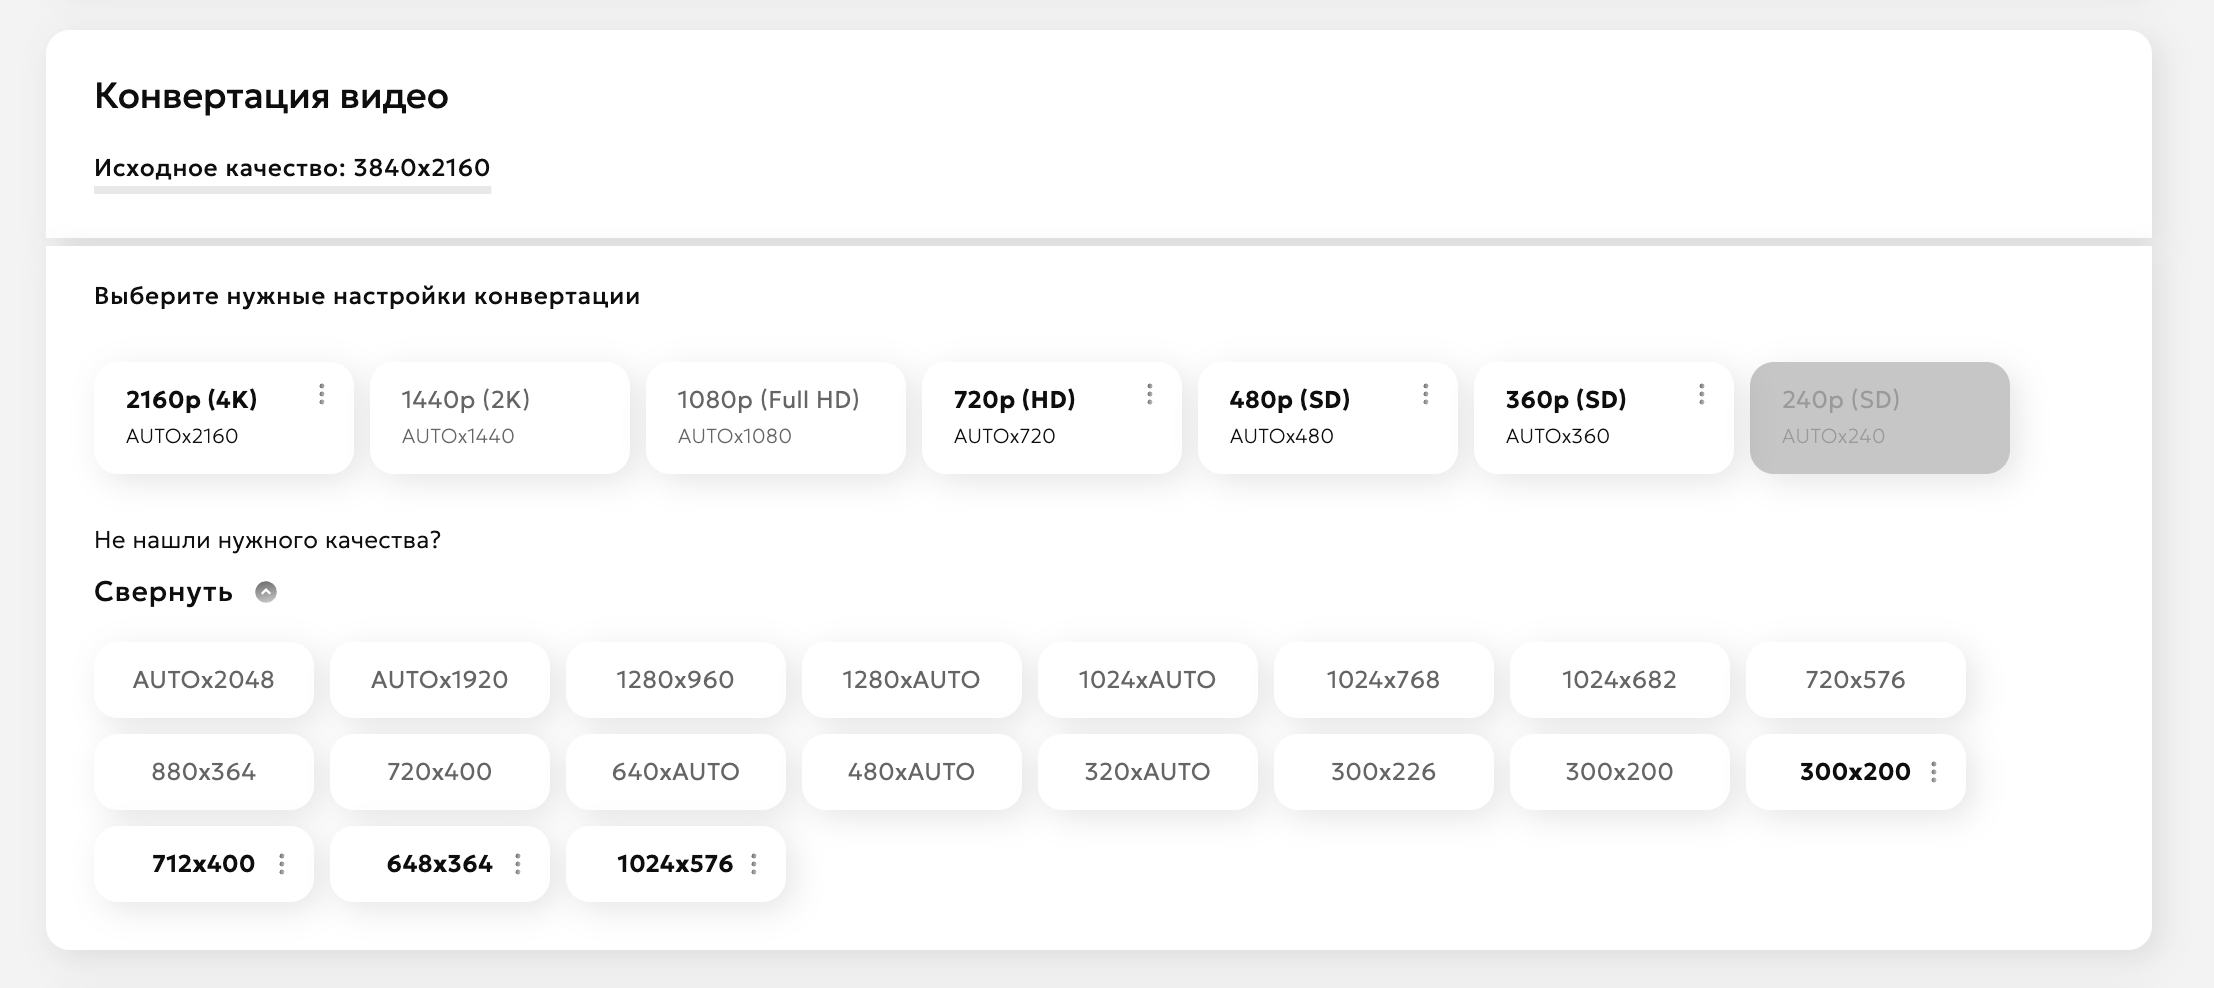
To transcode:
- Select the desired qualities from the list
- Click "Apply"
- After transcoding, the qualities will appear in the "Transcoded qualities" section
Cut
The cutting tool includes a player and two sliders to select a time interval.
By adjusting the sliders, you can set the start and end points of the current video. After trimming, the resulting file will contain only the video within this interval.
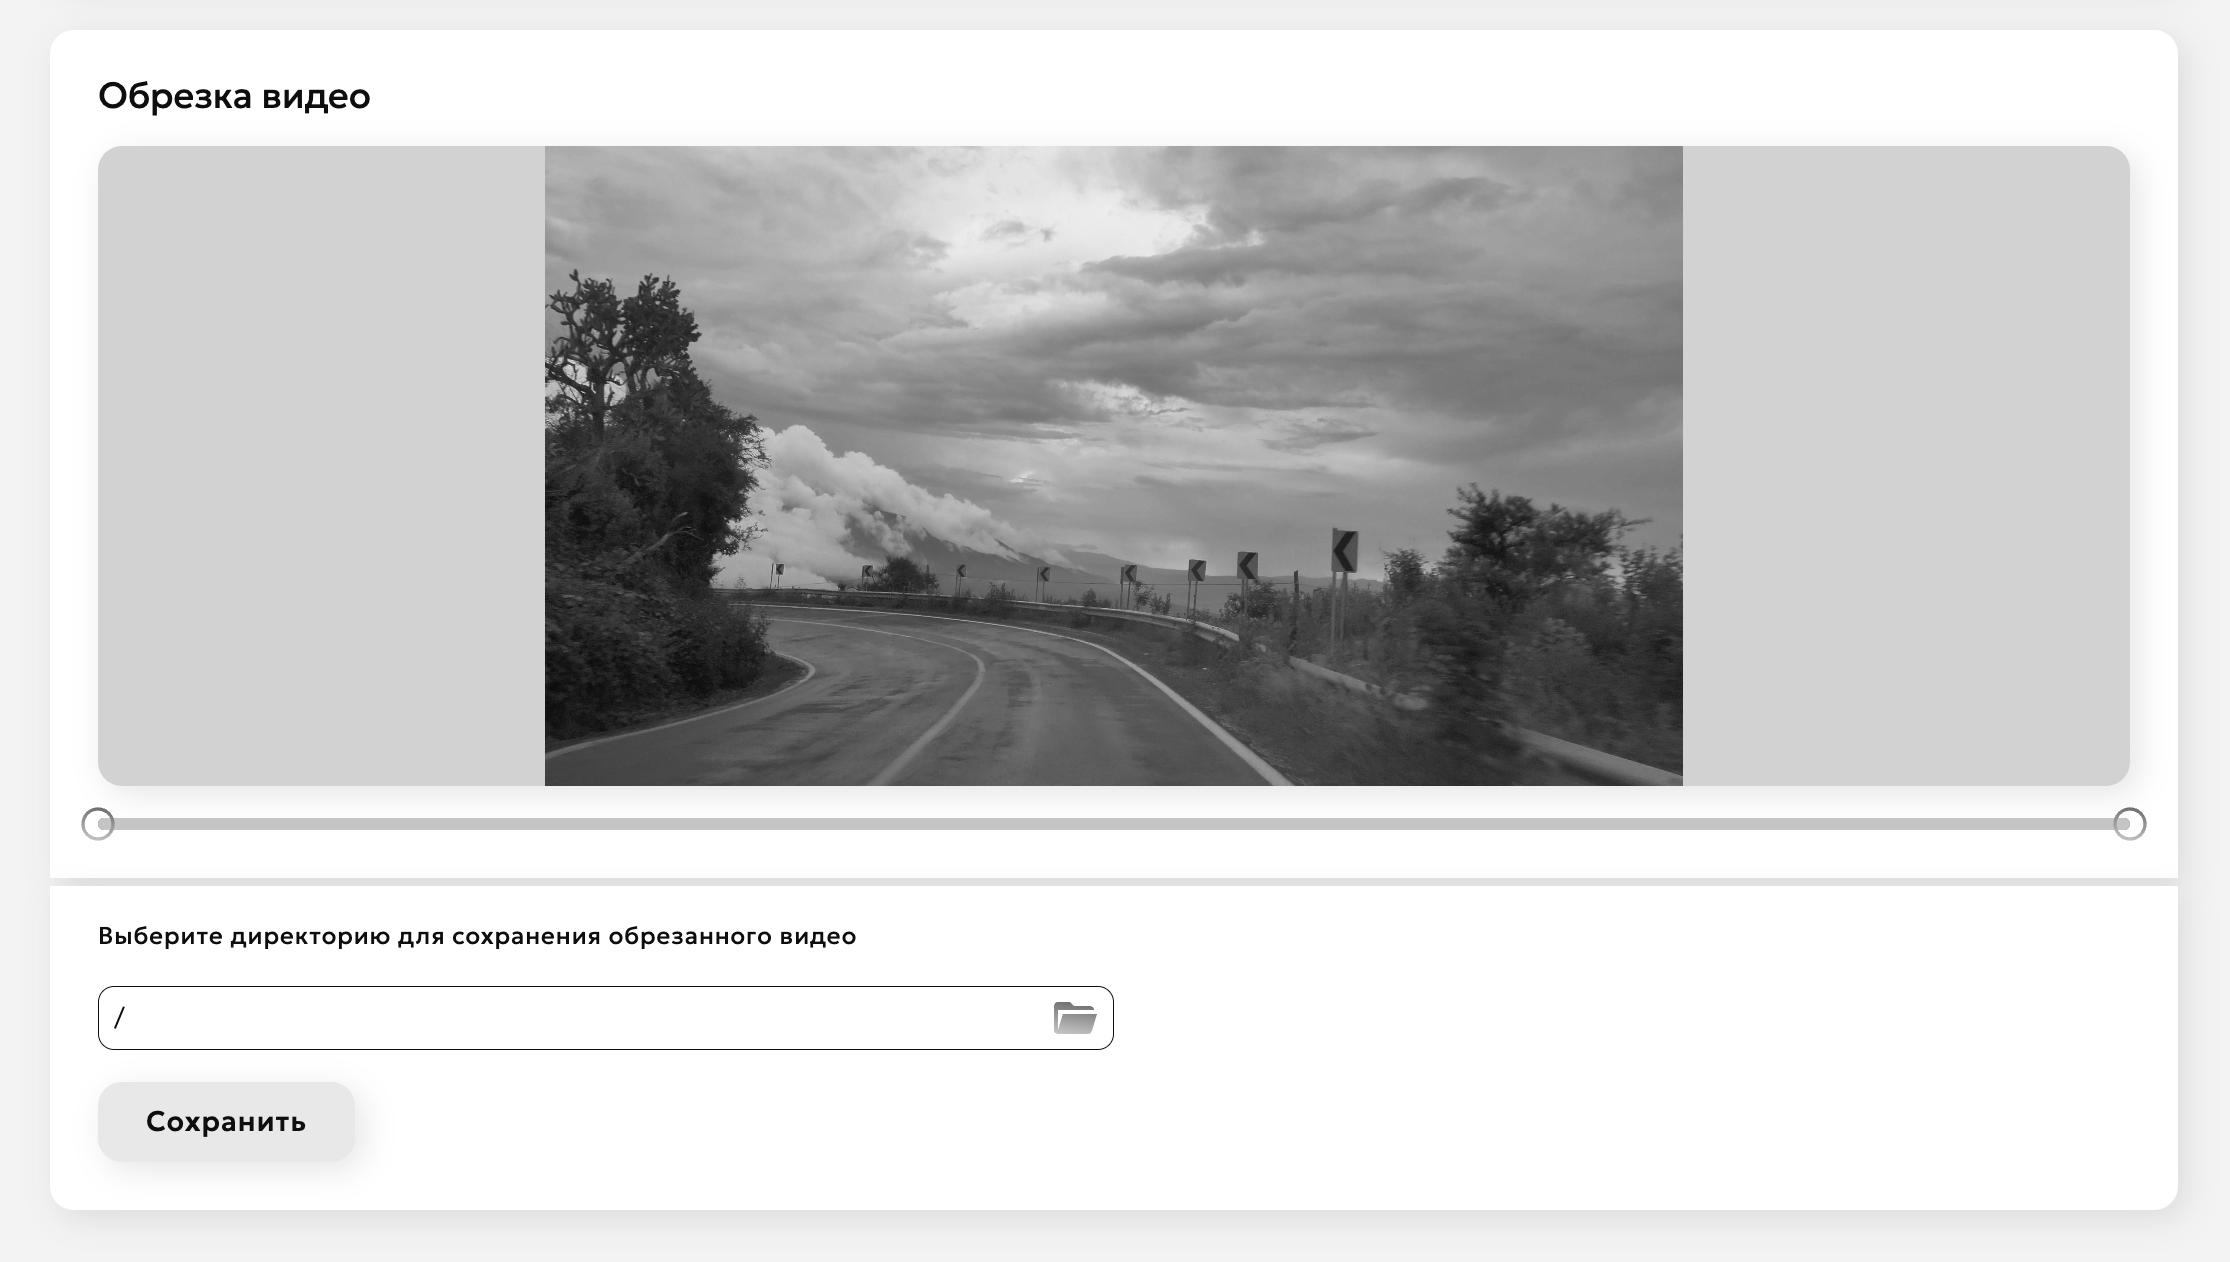
To trim a video:
- Set the boundaries of the desired segment using the sliders
- Specify the folder to save the result and the name of the output file
- Click "Apply"